Sunday, January 8, 2023

Glitter Heart Valentine Wreath

Dimensional Valentine Wreath


While perusing the Dollar Tree for surfaces to decorate, I came upon a Pink Glitter Heart Wreath. Now I don't know about you, but if you have pre-teen girls or grandchildren, it's all about the GLITTER.

When my daughter was that age, she actually had a shirt that read: "Glitter Makes Everything Better". She would love loved this wreath.

I bought it for my grandaughter Zoey, the family "artist." But I decided it need a better than flat place on her door...I decided to make this decoration dimensional. By purchasing two wreaths and glueing them together, it can be hung from a light fixture or ceiling fan. Zoey's most indentifiable glitter saying is: "If it's Pink and it Sparkles, I want it!" So I know this is going to find a perfect place in her room.

Back to the heart glitter form...

I purchased two wreaths and glued them together. Then I used 7/8" Pink Gwen Studios Double Faced Satin Ribbon to glue around the "seam" of the hearts. It just needed a little more "embellishing" to make it a Valentine masterpiece!

I glued a ribbon bow, some silk flowers and glitter hearts to the wreath. Perfect! It's now ready to hang from the light fixture in her room. I'll be sending it to her  in the mail on Monday, can't wait to get my Facetime thank you from her! Grandaughters are so special, especially the "glitter princesses!"

Happy Valentine's Day to all!


Thank you to Gwen Studios for providing the ribbon for this project. You can find this ribbon and so much more from Gwen Studios on Michaels.com or Walmart.com

Beary Special Valentine Favor


Make this super sweet project for someone "Beary Special" in your life!

After I made this "Beary Special" favor pail, I thought about a few other people who would love to have one of these, so I'm headed back to the store for a few more supplies.

I can't believe how quick and easy this project was to make! I'm always looking for quick & easy...and inexpensive too! This project cost under $4. to make: Pail from Dollar Tree, Glitter Hearts and Bear from WalMart and some Gwen Studios Double Face Satin Ribbon, which by the way, is the perfect embellishment for just about any project. This 7/8" Double Faced Satin Ribbon is one of my favs, and is available by the roll from both Michaels.com and Walmart.com (you get 100 yards for about $12.) This ribbon will last through multiple decorating projects, and you'll have lots to spare!

Supplies Nee:

Valentine Theme Favor Pail

Small Stuffed Teddy Bear

Glitter Hearts on Picks

Gwen Studios Double Faced Satin Ribbon, 7/8" in Red and Pink

White Crinkle Paper

Cookies, Candy, Brownies to Fill Pail

Optional: Cello Bag (recommended if mailing or transporting)

Instructions:

1. Tie ribbon bows on each side of pail handle.

2. Fill pail 2/3 full with White crinkle paper. You could also crumple up tissue paper to use.

3. Tie a bow around teddy bear's neck, then insert him in the pail.

4. Arrange cookies around the bear.

5 Tuck glitter heart picks among the bear and cookies.

Voila! Done! Wasn't that easy? As I said, back to the store for more supplies to make one for my hairdresser, the mailman, the helpful kids next door, my pastor and my very BF. Spread the love with this "Beary Special" Valentine treat!

Happy crafting,

Jean

For more fun Valentine projects, be sure to visit Designer Crafts Connection!


Friday, January 6, 2023

Easy Valentine Decorations, Just Add Ribbon

Celebrate Valentines Day...with just a few supplies


I never used to decorate for Valentine's Day. OK, I admit it. When my children were younger, I helped them with Valentines, baked some cookies or cupcakes, but just never got around to doing "decorations" for my door or home.

Because it's such a short lived holiday, and so much work was involved in creating a project from scratch, I just didn't do it.

Now that I'm a grandma, and send valentines to the kiddos, as well a handmade project (this year it will be sock bunnies holding a valentine heart), I've gotten more into the spirit.

But to be completely honest...the great surfaces available...for just pennies, has really changed the thought of making a decoration for a "one-day holiday."

The decorations sold by folks like The Dollar Tree, are just plain cute, and inexpensive. But they scream to me for a little embellishment. My go-to embellishment has always been ribbon and floral.

I've created a very quick project to illustrate how just a little bit of personalizing can turn an ordinary project into and extraordinary one.

First, I shopped my local Dollar Tree for surfaces. I found several. Notice how they are all pretty basic?

Next, I got out my Gwen Studios Ribbon. I made a couple of simple bows for the projects and with my trusty hot glue gun, decorated the projects with ribbon. They look better already, but wait, we are going to make them spectacular!

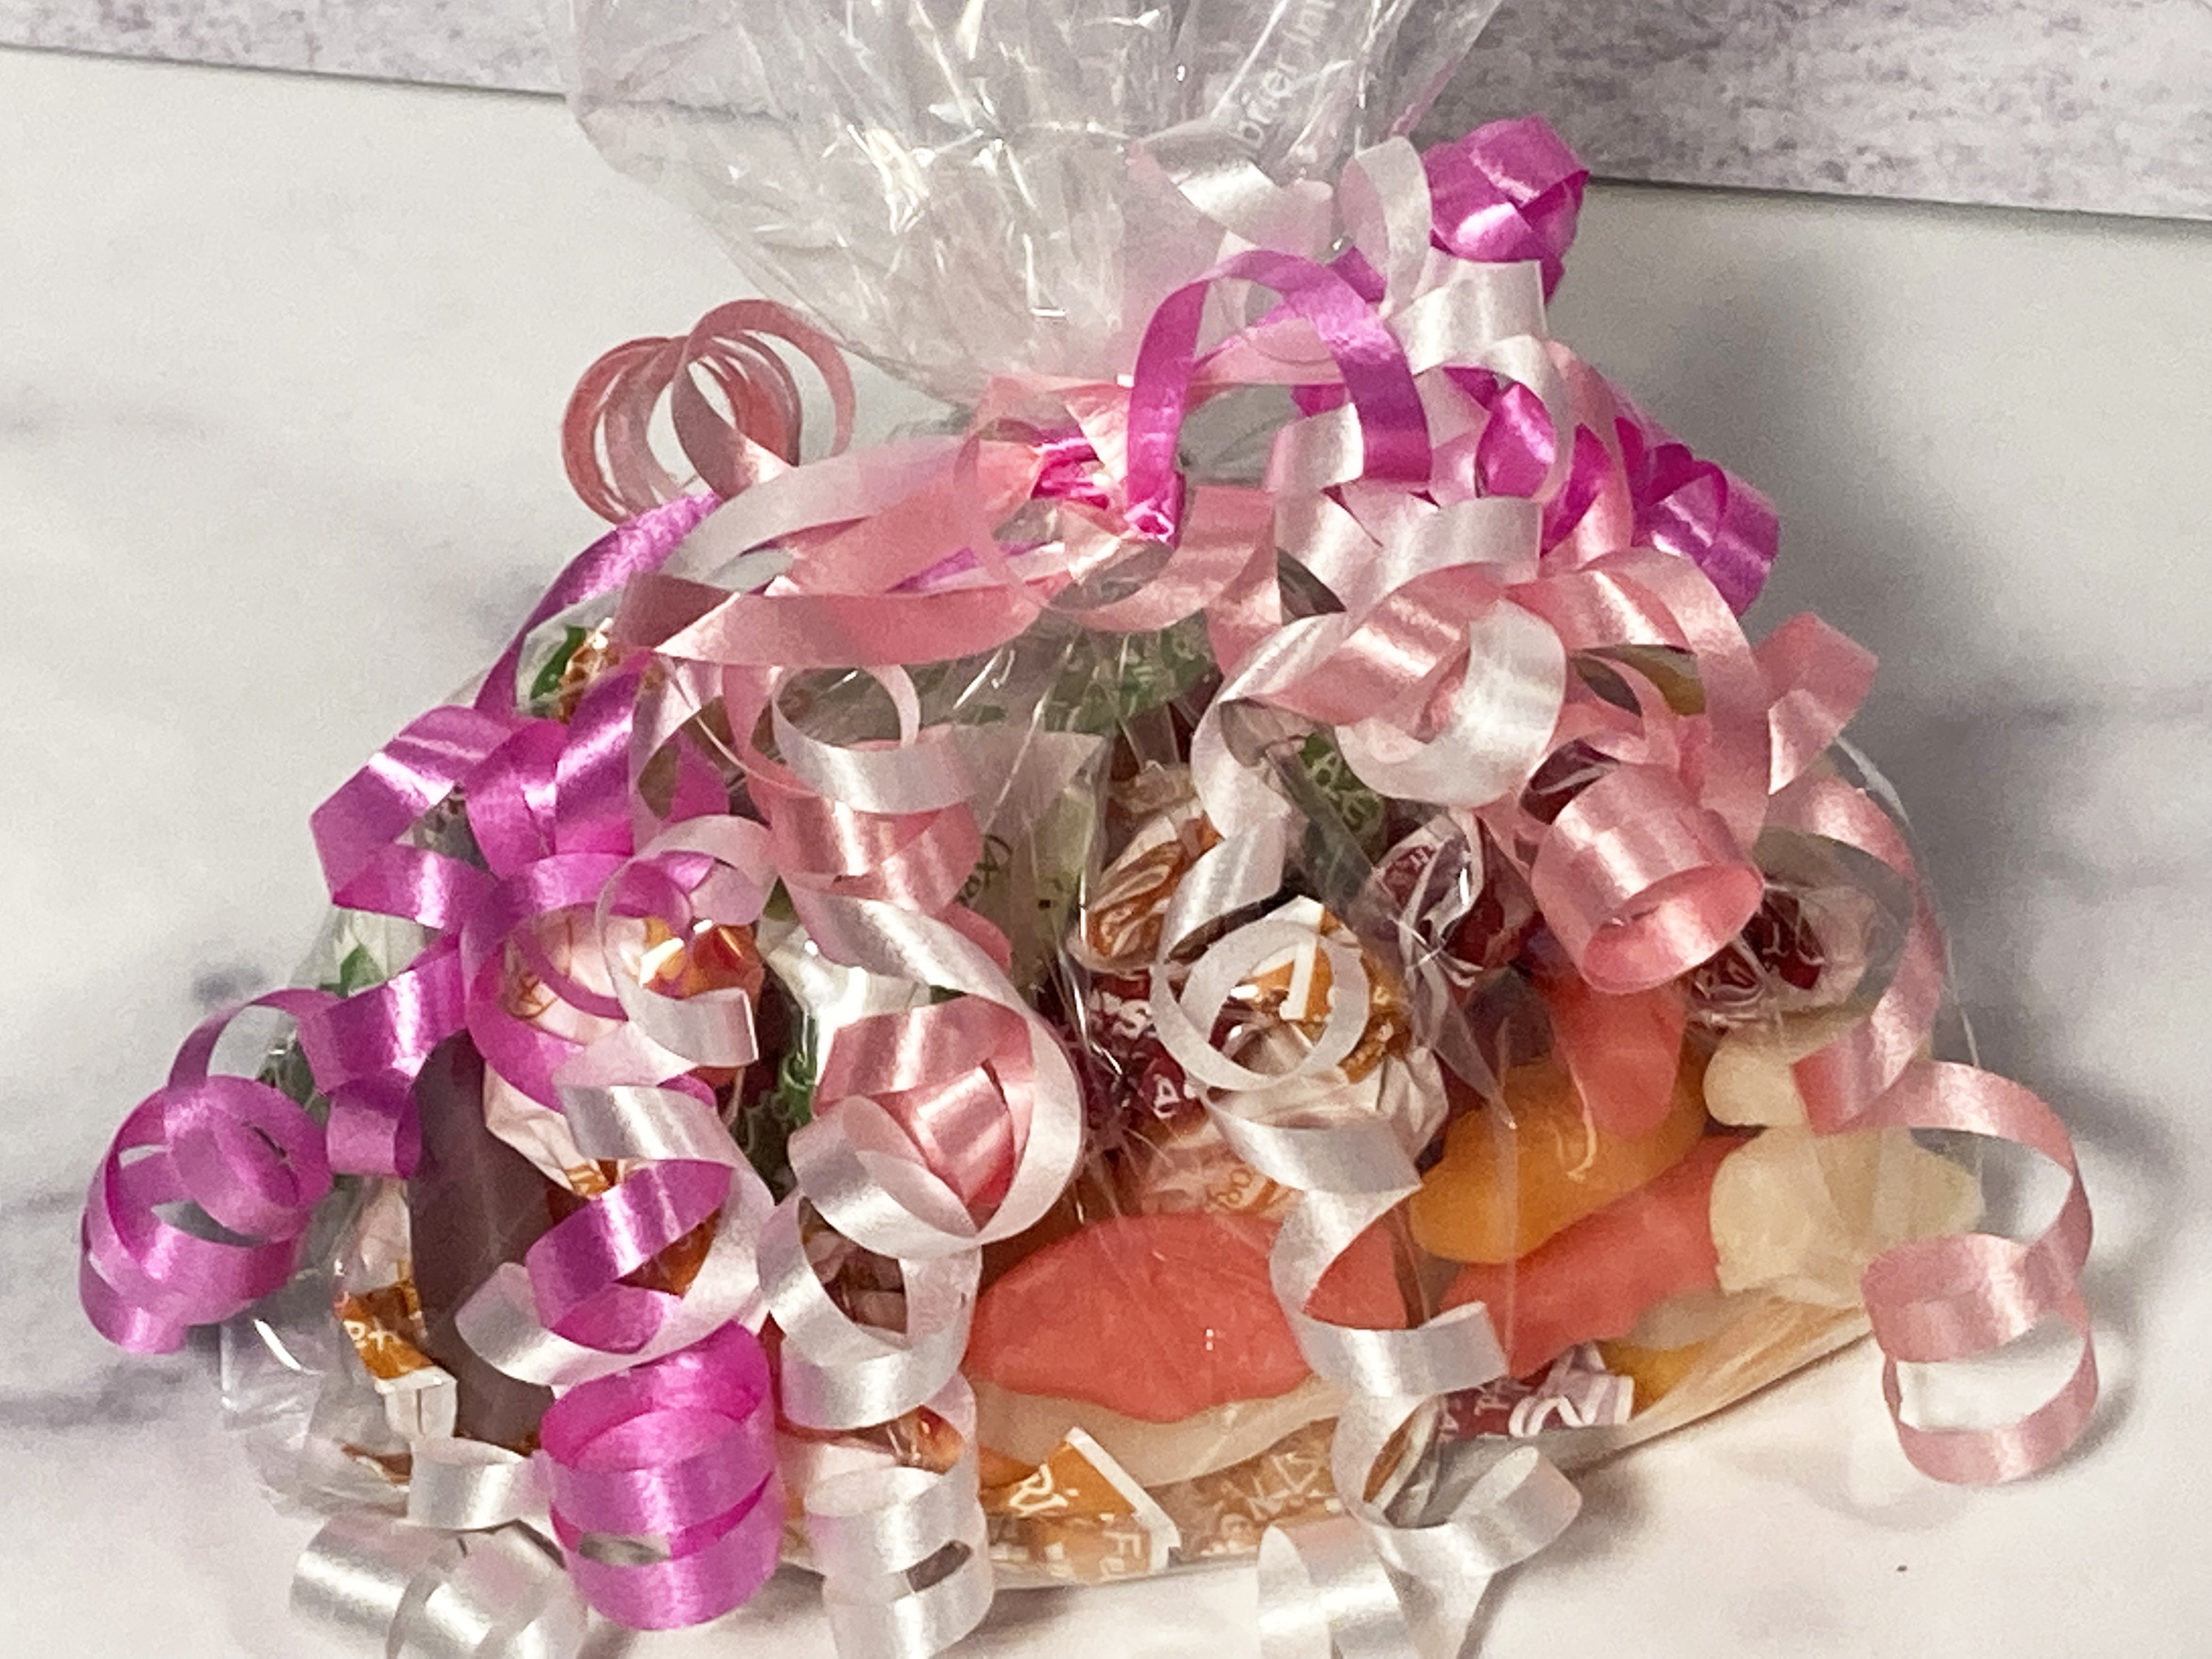
Enter the silk flowers...hot glue those among the ribbon. Voila! 10 Minutes to transformation. $1.25 for each surface, under a dollar of ribbon and silk flowers...less than $3.00 per project. That's an OK price for a "one-day holiday" project.

Want to spread the love this Valentine's Day? Why not make a couple of these projects to give in advance of the holiday, for those you LOVE? I'm more than sure they will LOVE your creativity and thoughtfulness. Just don't tell them it only took you 10 minutes. That's our secret!

Valentine Wall Sign Supplies:

Valetine Wall Sign (Dollar Tree)

Gwen Studios Double Faced Satin Ribbon, 7/8" in Pink and White

Silk Flowers and Greenery

Chenille Stem

Hot Glue Gun, Scissors, Wire Cutters

Instructions:

1. Make a simple six loop bow with streamers, then secure with chenille stem. Glue onto the project, tack ends of streamers in place.


2. Cut silk flowers from stems, arrange on surface, among the bow and glue in place.


Valentine Book Candle Stack Supplies:

Valentine Book Stack (Dollar Tree)

Gwen Studios Ribbon, 7/8" in Red and Pink

Silk Flowers and Greenery

Glass Jar Candle, Small

Hot Glue Gun, Scissors, Wire Cutters

Instructions:

1. Tie three simple bow with streamers. Glue the bow on the book stack.


2. Cut silk flowers from stems, arrange on surface, among the bow and glue in place.

3. Sit Candle Jar on the stack.

Quick and Easy! That's my kind of crafting! You'll find more fun designs on the Designer Crafts Connection Blog.

Thanks to Gwen Studios for providing the beautiful ribbon for these projects!
You'll find the ribbons on Michaels.com and WalMart.com


Tuesday, November 29, 2022

Holiday Candle Centerpiece with Gwen Studios Ribbon

 Holiday Candle Centerpiece


I have to be honest - I'm a craft supply hoarder, literally. Years ago (and just a little bit now, lol) I made and sold crafts. It was a very successful business, we were called "Professional Crafters" way back then. It was while I was a Professional Crafter that one of my handcrafts was discovered (Spoolie Dolls), and I went on to write a book for a publisher, then work for that publisher and author over 200 how-to craft books! From there, I taught at Industry Trade Shows, and finally worked with manufacturers and became a product developer.

It was a long road....with lots of supplies. My goal this year is to sort through supplies and to make some new and upscaled projects to give as gifts and use in my own home. Over the years I've saved way too much!

When unpacking a closet, I found half a dozen of these LARGE coffee table candles. With the holidays approaching, I decided to make a gift for my daughter, who is a bit of a rebel and doesn't decorate in the traditional Christmas colors, but in Blue! Actually, I like this, especially for winter projects like this one in Blue and White carries through the entire winter season.

There is simply no project that ribbon doesn't enhance and this one is no different. I used Gwen Studios Double Faced Satin Ribbon for the decorative touches on this candle setting - and I think it came out beautifully! The ribbon is shiny and luxurious, perfect for my project.

Did I say this project is EASY to make? Yes, it is. I created this one in less than 30 minutes and you can too! Whether you use the Light Blue Double Faced Satin Ribbon I used, or traditional Christmas Colors of Red and Green Ribbon, Gwen Studios ribbon will make it simply elegant! You'll find Gwen Studios ribbon on Michaels.com or on Walmart.com

Supplies Needed:

Gwen Studios 1 ½” Double-faced Light Blue Satin Ribbon

Pine Garland (Dollar Tree)

Ivory and Silver Silk Poinsettias, 2 Sprays (about 6 Poinsettias total)

Ivory Berry Spray

Glitter Greenery Spray

Frosted Snow Greenery Spray

Silver Chenille Stems, 3

6” Diameter Ivory Candle


Instructions:

1.     The pine garland from the Dollar Store comes in a coil. I simply removed the hang tag! If you are using other greenery, coil it so the candle will fit inside.

2.     1. Make three bundles of poinsettias and greenery. Twist a silver chenille stem around bundle to secure. Arrange and glue bundles to wrapped garland as shown in photo.

3.     2. Make an accordion loop ribbon bow and secure through center loop with a silver chenille stem (refer to photo). Add an 18” ribbon streamer. Spread bow loops, then attach bow to pine greener wreath at center area of floral elements. Weave streamers among floral elements.

4.     3. Add candle to center of wreath. That was easy! I think I'll use up those other 5 candles I found, this was too easy! Happy Crafting!


.


Wednesday, September 7, 2022

Celebrate Autumn Garland


Fall has got to be my favorite time of year. I grew up in New England, where we always had beautiful, colorful change of season. Here in Texas, we just get a little color. I wanted to add some color to my porch and Gwen Studios™satin and grosgrain ribbon was the perfect answer to creating this Autumn Garland. You'll find Gwen Studios ribbon on Walmart.com and Michaels.com. These are large rolls of ribbon, so you'll have enough for multiple projects!

The ribbon is simply looped and knotted onto a length of jute. You can make it as long or short as you want, to hang horizontally or vertically. You could also wrap this garland around a wreath or flowerpot. I added a few painted wood shapes to decorate it. Look at those autumn ribbon colors...beautiful!


Supplies needed:

Gwen Studios 7/8" or 1/5" Satin Ribbon - Yellow, Brown, Burgundy

Gwen Studios 3/8" Grosgrain Ribbon - Orange

Jute Twine

Wood Cutout Shapes with Hole - Pumpkin and Acorn (I got mine at Dollar Tree)

Chalk Paint - Orange, Yellow, Brown, Moss Green

Sanding Disc, Paintbrush, Scissors

Instructions:

1. Paint acorns Brown and tops Moss Green.

2. Paint pumpkins Orange; dry brush  pumpkins with Yellow. Paint a pumpkin Yellow; dry brush with Orange. Paint stems Moss Green.

3. When dry, sand edges of wood shapes to distress.

4. Tie 5" pieces of ribbon onto jute twine. When desired length is completed, tie a hanging loop on each end of the twine. Tie the pumpkins and acorns onto the garland.

Happy Fall Decorating!

Jean

Be sure to check out the other fun Gwen Studios Ribbon Projects on Designer Crafts Connection.


You'll find more ideas using Gwen Studios Ribbon on Gwen's Blog.


Wednesday, August 10, 2022

Back to School

 Back to School - Teacher Goodies!


It's that time again - Back to School! When my children were younger, this was an opportunity to get a head start on making Teacher Gifts for Christmas. Fast forward to this year, and it's my grandaughter who wants to make and give little gifts to her teacher. I love having project kits for her to make with me!

I have so much great ribbon from Gwen Studios, I decided to make a few ribbon embellished Teacher projects, then put together some kits for my grandaughter (she inherited the "craft" gene) to make. You'll find all the colorful Gwen Studios Grosgrain Ribbon I used in these projects on WalMart website or Michaels website.

Here are the ribbons I used in the projects:

Gwen Studios 1 1/2" Orange and Yellow Grosgrain Ribbons

Gwen Studios 1" Green and Black Grosgrain Ribbons

Gwen Studios 5/8" Red and White Grosgrain Ribbons

Gwen Studios 3/8" Yellow, Red and Black Grosgrain Ribbons

You'll also need:

Square, Oval or Round Container for the Crayon Bin

3 Packages of 24 Crayons

Assorted Wood Cut Outs 

Lo-Temp Glue Gun

Black Cable Tie

Instructions: Crayon Container


This cute crayon container had a humble beginning...a paper mache box with no top that I recycled for this project. You could use any square mini box (cardboard or wood), or even an empty tin can for this project. It's quick and easy! Now is the time to stock up on crayons for this project...most of the stores are marking them down in the Back to School section. I got several boxes for .50 cents at my local Wal Mart.


Use a lo-temp glue gun to attach crayons vertically around the box. Add 1" Gwen Studios Black and 3/8" Gwen Studios Red grosgrain ribbon around the box as shown. I had a mini chalkboard and 1-2-3 wood cutout I added to the front, but you could just use a bow instead. The completed project is perfect to contain cookies, candy, or treat bags. Afterwards, the teacher can use it on her desk to organize supplies.

Instructions: Red Tin with School Bus


This project could not be easier - Simply glue ribbon around the container (I used a Red tin) Then add a bow and school bus cutout to the top. To make the bow, I cut 6" lengths of assorted widths of grosgrain ribbon then bundled them thightly with a cable tie. Dovetail the ribbon ends, then fluff out the bow. Glue it to the top of the container. Tie a simple bow with 1 1/2" Orange grosgrain ribbon, then glue it behind the multi-strand bow. 


Glue the school bus cut out at the front and this project is done! For a teacher gift, I'd probably add some hard candies or chocolates.

Instructions: Mini Tin


This little tin is perfect to contain paper clips or push pins. Glue 1 1/2" Yellow grosgrain ribbon then 1" Green grosgrain ribbon around a white square mini tin. Glue an apple cutout on front and a 3/8" Green grossgrain ribbon bow to the top.

Adding a touch of ribbon to a project really dresses it up, and makes decorating the project quick, quick, quick! I'm sure you'll find lots of other ways to use this great ribbon from Gwen Studios as well.

Happy crafting!

Jean

Check out the Gwen Studios Blog for more great projects!


See what other Designers are making with Gwen Studios ribbon on Designer Crafts Connection!


Friday, July 1, 2022

Party Time with Gwen Studios

 It's Party Time!


Creating clever and colorful party favors doesn't have to be time consuming or expensive. With Gwen Studios Curling Ribbon and a few simple supplies, you can make your party table dazzle!

I made these favors for my grandaughter's birthday party. She had a butterfly fantasy theme, so these Butterfly tin favor pails (Dollar Tree) and the colorful swirl lollypop (Dollar Tree) were just perfect.

Curling ribbon is easy to work with, and practically goof-proof. All you need is a pair of scissors with a sharp edge. Cut curling ribbon in 18" lengths, then tie onto the object. You can use longer strands of ribbon for larger projects...a balloon bouquet for instance. The 18-24" length is perfect for most smaller items.


After you have tied the ribbon onto your surface, open the scissors and place curling ribbon against the edge. Since I was photographing alone, I'm just showing the ribbon against the scissors. You'll want to start at the knot where your tied on the ribbon, holding the scissors and the ribbon in seperate hands. drag the ribbon firmly in one long sweep, along the edge of the scissors to curl it. Practice first on a few strands and you'll see how easy it is!


If your ribbon is not as curly as you want it, simply repeat the process to add more curl. You can do up to three or four passes, but usually the ribbon very curled after one or two passes.

For the butterfly pail, I tied six 18" strands of curling ribbon on the handle (2 Pink, 2 Hot Pink, 2 White), then curled it. I filled the pail with cookies, but you could use candy or little prizes.


For the lollypop, I tied curling ribbon on the stick and curled it. I love this project! You could make a centerpiece of these using some foam in a painted flowerpot and it would be fantastic!


For the candy bag, I used a clear cello bag, filled it with candy, then tied six strands of 18" curling ribbon to close the bag. Curl the ribbon, and you are done!


I'm sure you'll think of lots of ways to use this fabulous curling ribbon...to make bows on gift bags and packages, for party favors, on ballon bouquets and so much more! Curl scraps of ribbon to make curly confetti...the decorating possibilities are endless.

You'll find the Gwen Studios Curling Ribbon in WalMart, but if you store doesn't carry it, check online HERE. It's only $2. a roll, so you'll want to get a few colors to work with!

There are  holographic and metallic styles as well!


I'm going to be making more projects with this ribbon, so be sure to check back!

Happy Crafting!

Jean

There are other fun projects from creative designers on the Linky Party for this product. Check out Designer Crafts Connection Blogspot for more projects!


You'll find lots more projects using Gwen Studios ribbons and trims on Gwen's blog


Wednesday, June 1, 2022

Sailboat with Ribbon Streamers

Sailing Away With Gwen Studios!


When I saw this chipboard sailboat in my local Dollar Tree, I knew it would benefit from a "design upgrade." Gwen Studios™ Taffy Stripe ribbon was simply perfect for this project.

You'll find this ribbon at both Michaels.com and Walmart.com. #makeitwithmichaels


The project itself is so simple, and requires just a few supplies:

Gwen Studios™ Taffy Stripe Ribbon

Gwen Studios™ Taffy Stripe Ribbon

Sailboat Chipboard Wall Decor (I got mine at Dollar Tree)

Painted Wood Starfish (Also from Dollar Tree)

Scissors, Lo-Temp Glue Gun or Craft Glue

As I mentioned, this project is simple and quick to make! First I cut strips of both the Taffy Stripe Ribbon about 16" long (you can trim them later if you want them shorter). Next, glue them across the back of the chipboard sailboat.


Cut smaller ribbon strips to embellish the white area of the sail. Glue across sail, spacing evenly, then trim ends flush with the sail.


Glue a starfish cut out on the sailboat and three of the ribbons (refer to photo for placement).


I had a little ribbon and a wood starfish left over, so I trimmed a blue glass jar with them. I'm going to add a candle and use it and the Sailboat Streamer in my utility bathroom. The Sailboat would also look great as a door hanger.


I just love upscaling simple Dollar Store finds. But I also like adding ribbon to embellish clothing! Check back to see my next project - a child's ribbon embellished T-Shirt dress. It's a cutie!

Happy Crafting,

Jean

Many thanks to Designer Crafts Connection for the opportunity to post on the Linky Party. Be sure to visit and check the other projects from some talented designers!


Gwen Studios™ provided the ribbon for this project. You'll find their ribbons on Michaels.com and Walmart.com. Gwen posts wonderful projects on her blog, be sure to check in often.


Monday, March 14, 2022

Spring Egg Tree Featuring Gwen Studios Ribbons

 Spring Egg Tree

I'm so ready for Spring! This winter in Texas has been full of up and down weather swings, but finally I think I see Spring on the horizon.

I love making gifts, and Easter is no exception. I made this cute Spring floral tree for my sister. She loves Easter so much and I thought this would be the perfect accent to some pastel flowers and ribbons she has used on her other decorations.


The tree is easy to make, takes just a few minutes with a trusty "lo-temp" glue gun and some basic supplies. And of course, the finishing touch with beautiful Gwen Studios™ Grosgrain ribbon makes it just perfect.

Follow these simple instructions to make your own Spring floral tree.

Supplies Needed:

Gwen Studios™ 5/8" Yellow, Light Blue and Pink Grosgrain Ribbon

Gwen Sutdios™ Light Blue 1 1/2" Light Blue Grosgrain Ribbon

6" Foam Cone

Green Moss

Pink Silk Flowers

Greenery

Floral Wire

Lo-Temp Glue Gun

Assorted Foam Glitter Eggs (Large and Medium)

Tin or Ceramic Container

Toothpicks

Instructions:

1. Glue Green Moss around the foam cone. Insert toothpick into foam glitter egg, the insert other end of toothpick into foam cone. Space larger eggs at bottom of cone and smaller eggs toward top.

2. Glue greenery among eggs. Wire two loops of Pink ribbon at bottom, then glue among eggs. Tie Yellow and Blue ribbon bows, then glue among eggs and greenery.

3. Fill in any empty areas on the cone with Pink silk flowers. 


4. Nestle cone in a tin or ceramic container, hot glue to secure. If necessary, fill container with floral foam and glue cone to top of floral foam. My cone fit perfectly in the top of my floral tin.

5. Tie a bow of 1 1/2" Light Blue ribbon, then glue at top edge of container and bottom edge of cone.


I love the way this tree turned out! I'm planning on making more, but using teacups as the container. I'll tie some extra Gwen Studios™ ribbons on the handles. They'll make fun gifts for some special friends.

If you would like to see more projects for Easter using Gwen Studios™ ribbon, I have a project feature in the upcoming Spring Issue of Bella Crafts Magazine. The projects are a perfect compliment to this tree. I'll edit this article with a link when the issue publishes so you can download a FREE Issue of the magazine!

Some of my designing friends have done some lovely projects with Gwen Studios™ ribbon as well. Be sure to check out their projects on Designer Crafts Connection.

Until then, Happy Crafting and HAPPY SPRING!

Jean